How to Install Metallic Epoxy Floors: A Complete Guide with Pro Tips
Metallic epoxy floors are durable, glossy, three-dimensional surfaces created by combining epoxy resin, hardener, and metallic pigments. This guide offers DIYers a roadmap for installation, covering preparation, material selection, pigment manipulation, and topcoat application, while addressing common challenges.
Understanding Metallic Epoxy Floors
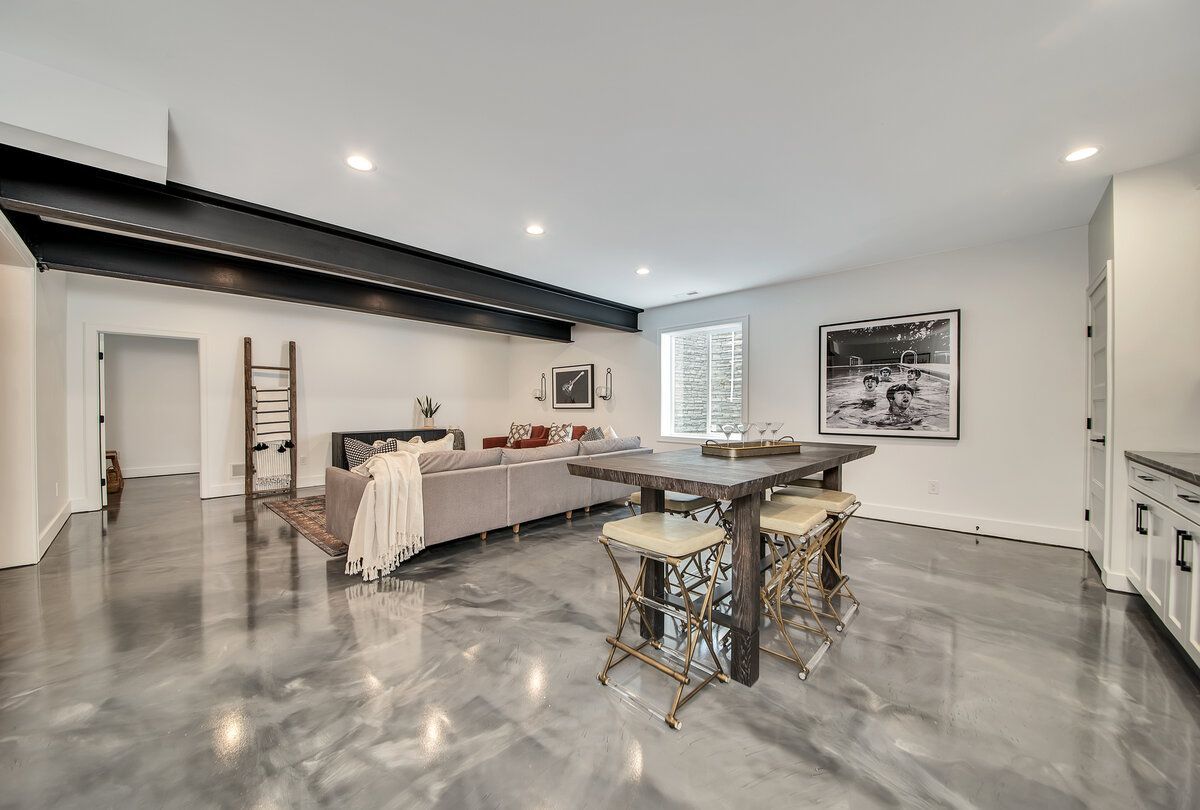
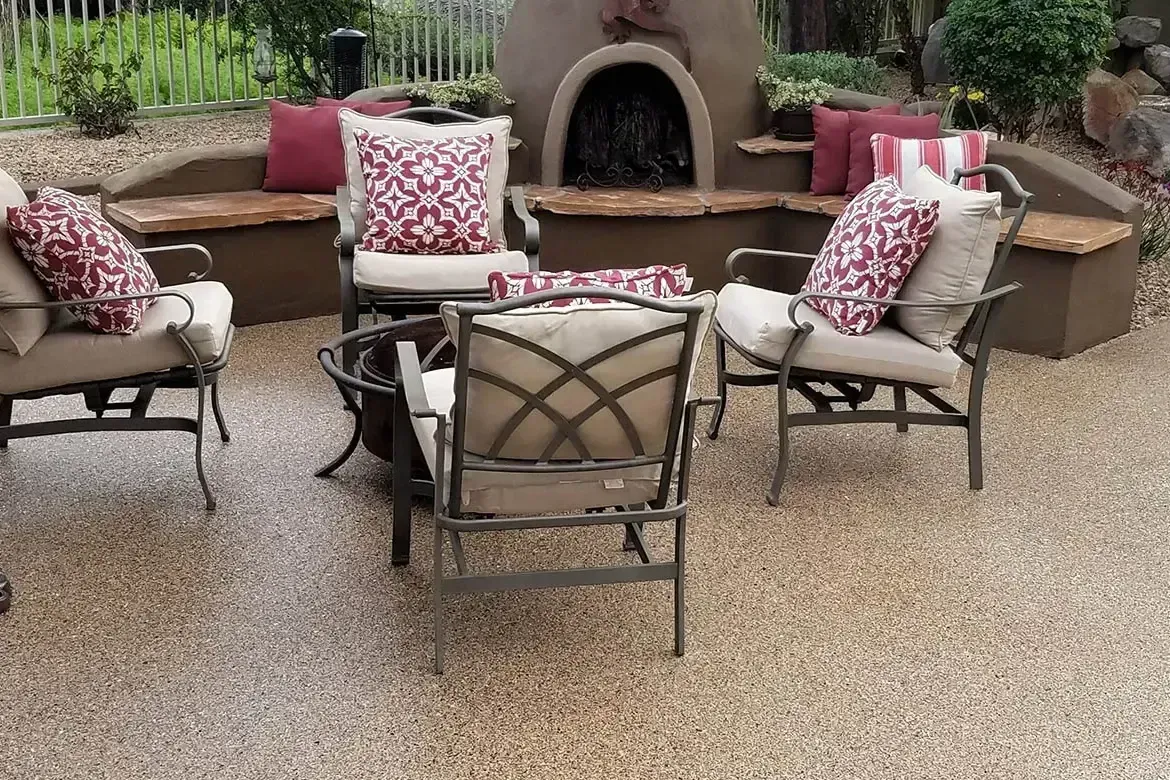
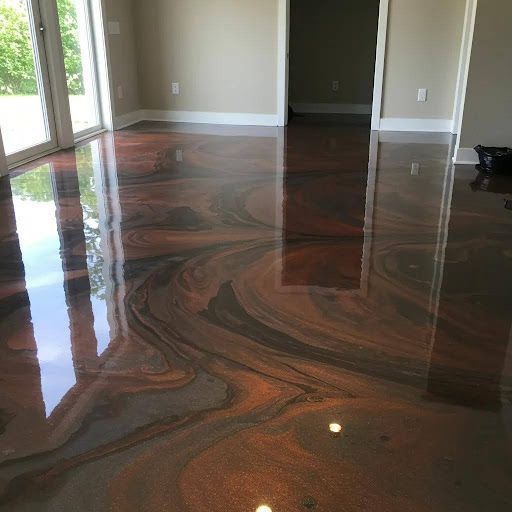
Metallic epoxy floors are decorative epoxy coatings with mica or metallic pigments, creating depth and movement. This two-part system (resin and hardener) forms a tough, chemical- and abrasion-resistant film, producing stunning 3D and marbled effects. Benefits include high gloss, easy maintenance, and strong resistance, making them ideal for various spaces. Common finishes like swirl, marble, and cloud effects are achieved through specific pouring and manipulation techniques. Explore our gallery for inspiration.
How to Prepare Your Concrete Floor for Metallic Epoxy
Rigorous substrate preparation is crucial. Inspect for contaminants, cracks, and level issues, then clean with degreasers. Use a concrete grinder for mechanical profiling (CSP 2–3) and repair any cracks. Critical moisture testing must be performed; elevated moisture requires mitigation to prevent blistering or delamination.
Materials and Tools Needed for Metallic Epoxy Installation
Essential materials include a two-part epoxy kit, compatible primer, metallic pigments (paste or powder), and a durable topcoat (urethane or polyaspartic). Key tools are a concrete grinder, mechanical mixer, squeegees, rollers, spiked shoes, and full PPE (respirator, gloves, eye protection). Always choose compatible products and test pigment concentration.
Step-by-Step Metallic Epoxy Installation
Installing a metallic epoxy floor requires precision and careful timing across multiple stages. By following this systematic approach—from primer application through artistic manipulation to final protective coating—you'll achieve professional results with stunning visual effects. Here are the steps to follow:
Step 1: Apply the Primer Layer
The installation workflow involves applying primer for adhesion, then mixing and applying the metallic epoxy layer, followed by a protective topcoat. Primer should be applied evenly and allowed to cure according to manufacturer specifications, typically 12-24 hours, ensuring a strong bond for subsequent layers.
Step 2: Mix and Pour the Metallic Layer
For the metallic layer, accurately mix resin, hardener, and pigments using a mechanical mixer at a low speed to avoid introducing air bubbles. Once thoroughly combined, immediately pour the mixture in planned zones across the prepared floor. Use a squeegee to spread the material evenly, aiming for a consistent thickness.
Step 3: Manipulate Pigments for Effects
This is where the artistry begins: manipulate pigments with tools like a leaf blower, spiked roller, or even a brush to create unique swirls, waves, and cloud effects. Experimentation on a test board beforehand is highly recommended to perfect your desired aesthetic. Work quickly but deliberately, as the pot life of the metallic epoxy is limited, usually 20-40 minutes depending on temperature and product.
Step 3: Apply the Protective Topcoat
Finally, after the metallic layer has cured sufficiently (often 18-24 hours, check tackiness), apply a protective topcoat (e.g., polyaspartic or urethane) per instructions. This clear coat provides enhanced durability, UV resistance, and a final glossy finish. Observe cure times diligently; light foot traffic is typically permissible after 24–72 hours, with full chemical cure taking up to 7 days. Timing and pot life are critical at each stage, requiring careful planning and swift execution to achieve a flawless, long-lasting metallic epoxy floor.
Learn more about
our process
How to Troubleshoot Common Metallic Epoxy Floor Issues
Even experienced installers can encounter challenges with metallic epoxy floors. Understanding how to identify and resolve common problems quickly can mean the difference between a minor fix and a complete redo. This troubleshooting guide addresses the most frequent issues—from bubbles to delamination—and provides practical solutions to get your project back on track.
Identify Common Problems
Common issues like bubbles, roller marks, delamination, or pigment separation often stem from improper mixing, trapped air, moisture, or exceeding pot life.
Fix Bubbles and Roller Marks
Bubbles can be fixed with low-speed mixing or a torch; roller marks by using the correct roller and avoiding over-rolling.
Resolve Delamination and Color Issues
Delamination usually indicates moisture or poor surface profile, requiring re-profiling and moisture mitigation. Color issues are due to uneven mixing or pigment overload. Always diagnose quickly, confirm environmental conditions, and address root causes.
Final Thoughts
Installing metallic epoxy floors is a rewarding DIY project that transforms any space with a stunning, durable, and unique finish. Meticulous preparation and careful application are key to achieving professional results. Patience and attention to detail are your best tools.
Get a Free Quote Today!